This is a tutorial to help support the output of a PDF certificate using Articulate Storyline.
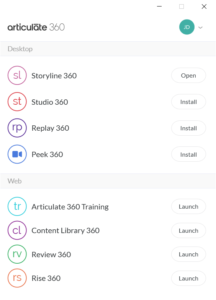
Articulate 360 is a holistic suite of interconnected applications for one’s e-learning needs. From authoring, to sourcing assets, to training and collaborating. These apps include Storyline, Studio and Content Library 360. This tutorial will be focusing on Storyline, but may be applicable to the other Articulate apps.
Storyline 360 is a cloud-based solution that is designed to aid organizations in the production and publication of interactive video-based e-Learning courses. The platform enables users to create personalized project slides and offers a host of features such as multilingual translations, text-to-speech conversion, and video import. Furthermore, it allows enterprises to embed web applications, online reference materials, games and other elements into their courses.
Downloads, Installs and Setup
If not already installed on a computer, Articulate 360 can be downloaded and installed from the [Articulate 360] website. The other platforms, Storyline 360 in particular, can then be installed from the Articulate 360 portal.
To allow your users to download their results in a PDF certificate, Storyline will need to reference a JavaScript plugin library such as jsPDF or pdfMake. Both of which can be downloaded from the GitHub platform. The plugin can be set aside for the time being, while the slides and user interaction modules that you need are developed.
Inputs and Variables
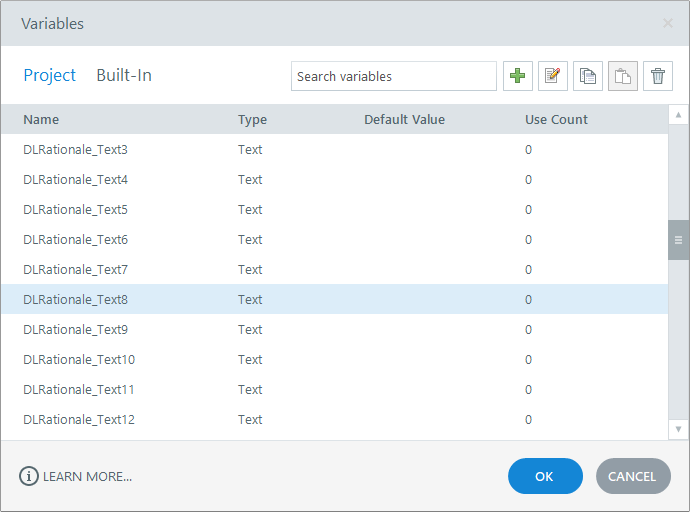
After the slides are developed and designed to specifications for the course, including graphics such as images and videos, the interaction and input points will need to reference a variable or two. Storyline uses these variables to carry information from one slide to another, such as text from a text-field that the user has entered. These variables can also help in navigating which slide a button needs to take the user to when it is pressed.
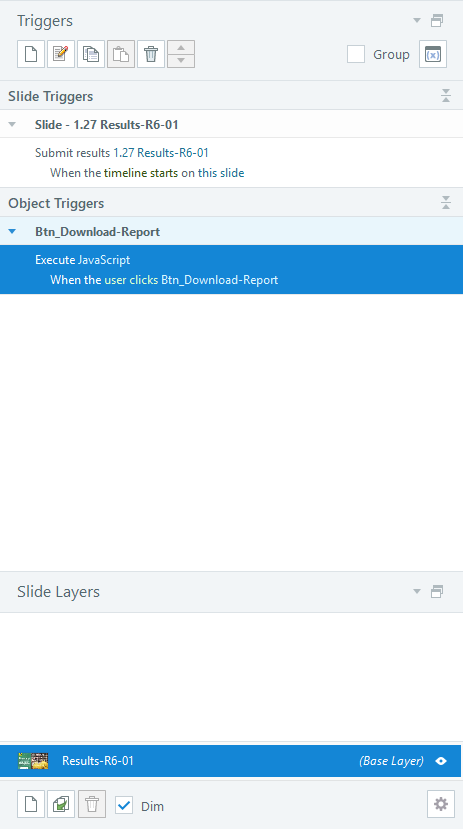
These variables are also very crucial for our JavaScript plugin libraries, as otherwise they will not have any information to output. To allow the user to print out their results, they will need a button with an ‘Execute JavaScript’ Trigger attached. This will allow for JavaScript functions that call for the plugin to be written into the button functionality.
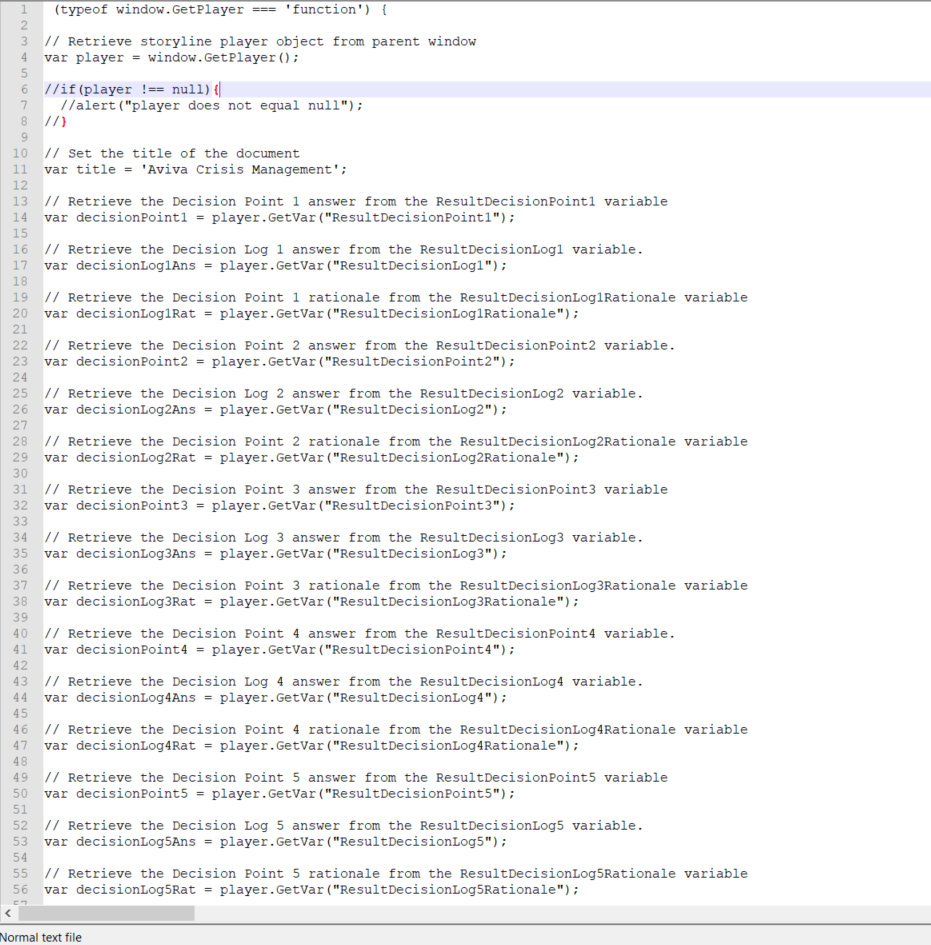
Now, open and edit the JavaScript trigger, populating it with the functionality that is required to happen upon a user clicking the button it is attached to.
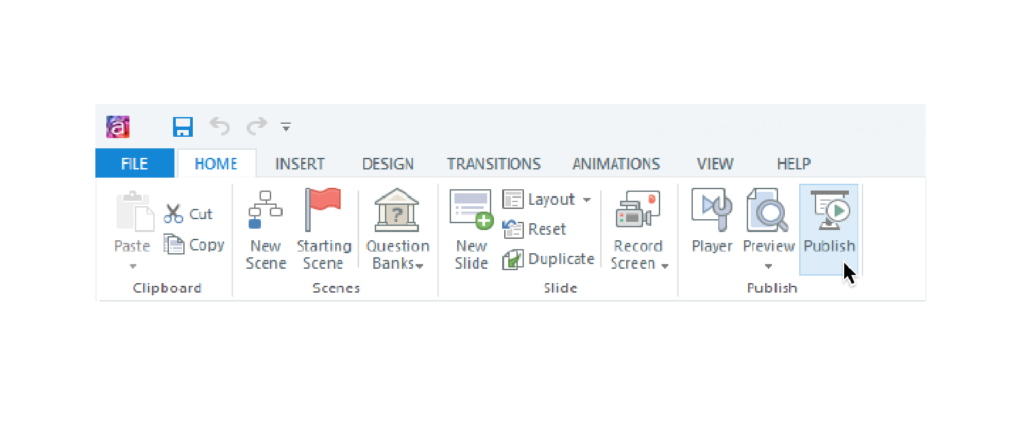
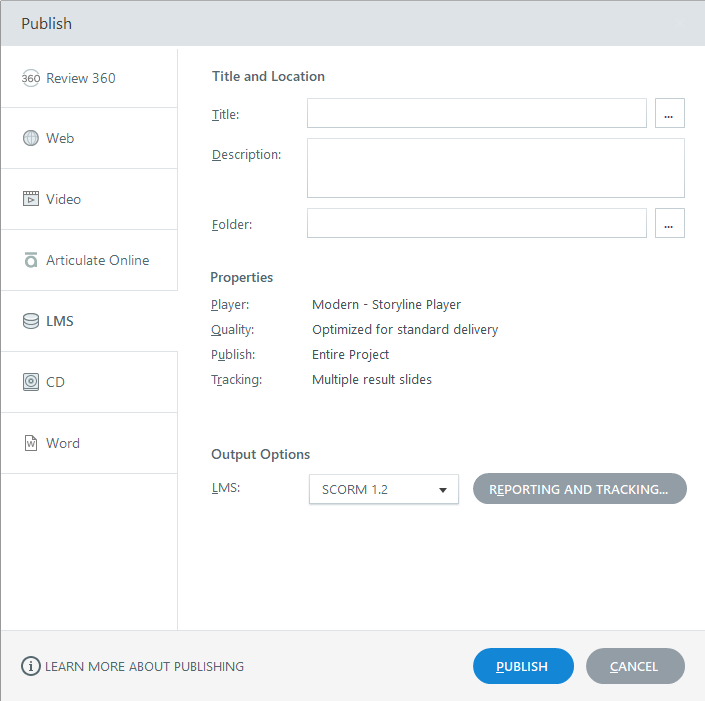
With your JavaScript functions in place and attached to an input button, we can now publish the Storyline project. Clicking the ‘Publish’ button will bring up a new window with a list of format options to publish the project as.
This depends on how you would like to track the user’s inputs and interactions, but for now we will choose the LMS option.
This will enable the project to be uploaded to a ScormCloud platform and be used for an e-learning course, but before the upload we need to prepare the published folder.
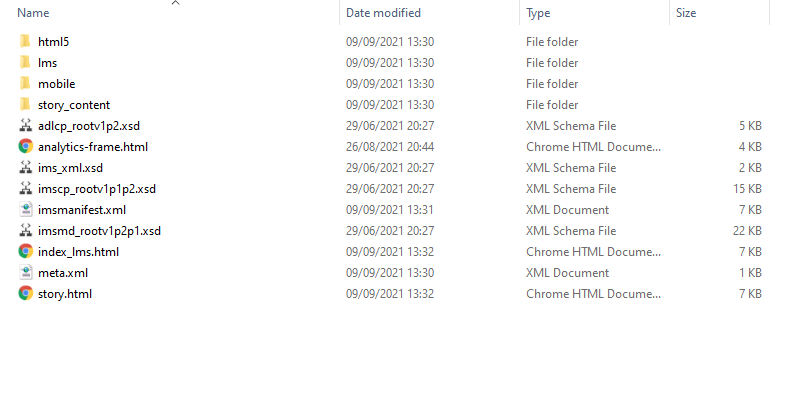
Locate the project folder, the JavaScript plugin that was set aside earlier can now be integrated into it. When the project folder is opened up, the hierarchy should look something like this:
The plugin folder needs to be placed into the ‘story_content’ sub-folder. That is all that needs to be done with this folder, but we also have to make sure that the plugin is referenced in the project script files.
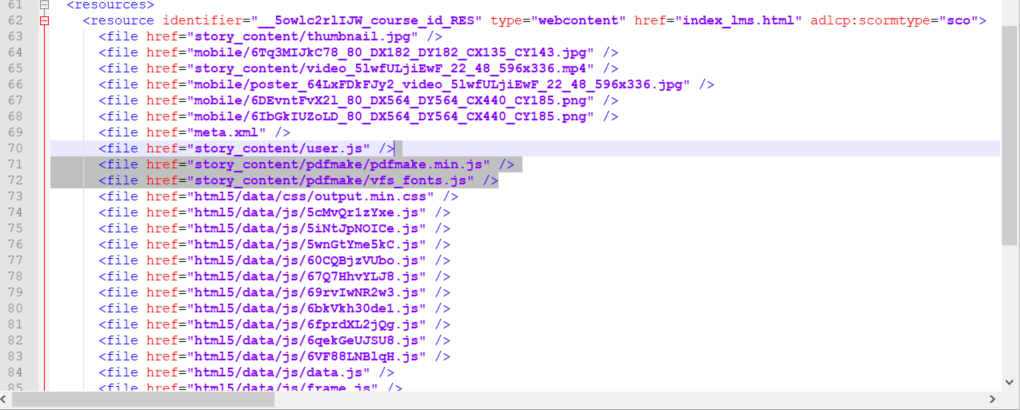
The files that need to be edited are: the ‘story.html’; the ‘index_lms.html’; and the ‘imsmanifest.xml’ files.
The ‘story’ and ‘index_lms’ html files are edited in much the same way. They both need to reference the plugin scripts in the folder, like so:
With these files now edited and referencing the JavaScript plugin, the project folder needs to be zipped up.
Finalise
Everything should now be in place to begin the upload to the ScormCloud platform. Log into your ScormCloud account and begin the process to create a new course by clicking the ‘Add Content’ button. From the four options in the dropdown menu, select ‘Import a SCORM, AICC, xAPI or cmi5 package’. In the screen that follows, you can select an app for the Course to be uploaded to but more importantly, you can locate the zip file containing the StoryLine project to be uploaded.
Upon completion, the course should now be ready for your users to go through. When they come to the point in the course where they are asked to download the course report via the button that was set up earlier, they should be able to see the PDF file has started downloading and the inputs they entered during the course should now be present in the file.
