3D Animation Production Process

Have you ever wondered about the 3D animation process, and the pipeline behind it? Have you heard the words – Pre-Production, Production and Post Production, and are unsure on the meaning? Here is a quick guide to help you understand all the elements behind the production pipeline for a 3D animation.

The Idea – The first step in creating your animation is establishing the idea, the aim and main purpose to intrigue the viewer. With the perspective of the idea set in place, it’s time to create and institute the story.

Client Meeting – Having a client meeting and the forefront of the project gains a huge advantage, enabling us to understand the meaning behind the story and your animation needs.

Pre-Production

Script & Storyboard – Once the idea has been established, the next stage is developing the script, you can either supply the script to us, or we are able to write this for you, we would need to know this in the client meeting.

Once the script is in place, it’s time to put pen to paper and draw up a storyboard, which is a sequence of images, laying out the two dimensional boundaries on how to display the final animation. First dimension is time: what happens first, next and last? The second is interaction: how does voice-over and/ or sound effects interact with the images? How will it convey the story to the audience?

Top tip: It is important for the script and storyboard to be formally approved before we start production.

Animatic – Once the storyboard has had it’s final approval, this will then be created into an animatic, which lays out the story, and is not the final look for the animation. This then becomes the primary reference for the animation, the animatic is used by every team member, which will then be later enhanced by the designers in developing the final footage.
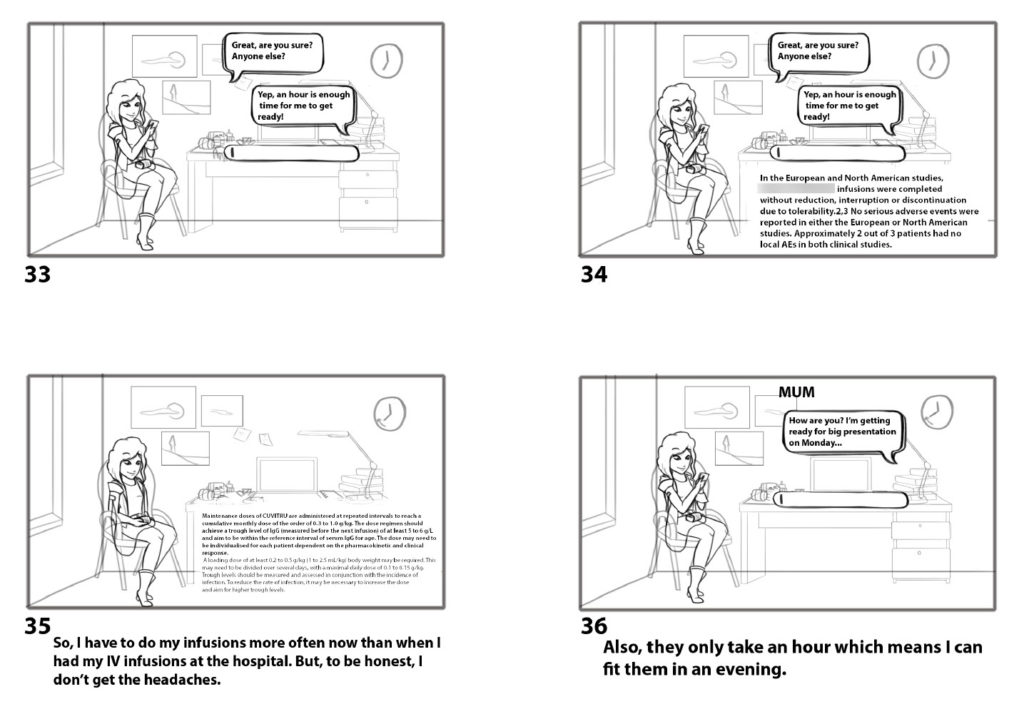
Takeda Patient Story 360 VR Video Animation Storyboard, female character sitting on chair in a bedroom texting on her phone, speech bubbles with text

Production

Asset Design and Preparation – Within this design process, Research & Development (R&D) takes place, R&D plays a critical role within the innovation process, which can lead to greater creative designs, thus gaining a deeper understanding of the meaning and purpose behind the story.

Now the fun and creativity starts, the design process of all elements within the story. This can entail the character, environment, background, asset design and colour palette, which can be created through moodboards, model sheets or quick sketches etc, giving a clear understanding to the design team, so they know what look and style they are aiming for.

Modelling – With the designs approved, the technical production begins. Commencing with the modelling of characters and assets, the 2D design process transforms to 3D, this can be done in a variety of softwares, i.e. Maya, zBrush, Unity, dependent on the platform the project has been tailored to.

Rigging – This is the process of creating a skeleton structure, enabling it to move in the x, y & z axis, bringing life to the model, allowing characters or objects to act to the needs of the storytelling.

Rigging is not always for a human character, it can be implemented into animals, insects, plants, vehicles, basically anything that needs to transform from one axis to another.

Animation – creates an illusion of movement by a series of pictures or frames, creating realistic motions to a high level of detail. Bringing characters to life! We will send work-in-progress (WIP) playblasts, on scheduled milestones to the client, for their feedback and approval on timings and camera movements.

Once the animation has been completed, the pre-render (which can also be referred as the final playblast) is sent to the client for final approval.

Visual Effects (VFX) would also commence in this stage of production, delivery WIP playblast for feedback and approvals.

Texturing/ Shading – is the next process, this allows the models to have colour and finer detailed textures, which would be discussed in the client meeting and asset preparation stage.

Lighting – would also happen alongside, creating the look and tone for the models and scene.

Rendering – The final production process (but not the end yet) is Rendering, which is an automatic process generating photorealistic or non-photorealistic images that are collected together. Don’t underestimate the power of rendering, this process could take a matter of days/ weeks, dependent on the level of detail.

Top tip: We cannot start rendering the animation without the final approval of the animation playblast.

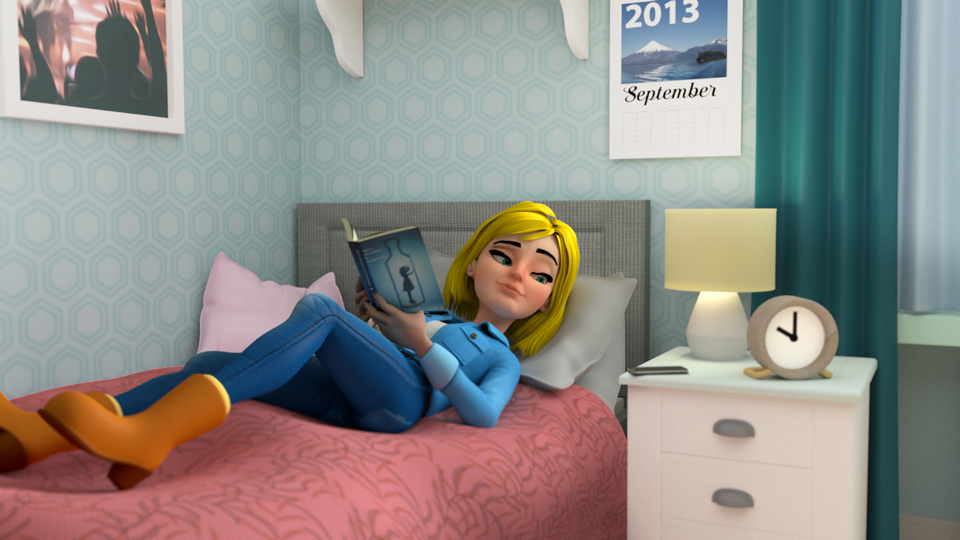
3D Animated Girl Reading a Book on her Bed and glancing at her phone on the bedside table

Post Production

Compositing, Music, Exporting & Encoding – Once fully rendered, all elements are composited together, this process allows the final renders to be colour corrected and any other adjustments (depth of field, blur etc). In addition sound effects and music can also be included at this stage.

Delivery – Once this stage has been completed, you are left with your final animation. Your final animation can be delivered in HD renders or any other required version at your request (MP4, WMV etc.). If amends are needed to take place this can be implemented (within the agreed amount of days) and a new final version will be delivered.

If your interested and seeking for advice and/ or information about how we can help you create a 3D Animation, contact us here. or give us a call on +44 (0)207 148 0526.

Recent Posts